Passo Falzarego - Rifugio Lagazuoi (via gallery)
Starting point: Passo Falzarego (2105 m)
Starting point Lat/Lon: 46.5195°N 12.0085°E 
Path name: via gallery
Time of walking: 2 h
Difficulty: difficult marked way
Difficulty of skiing: no data
Altitude difference: 645 m
Altitude difference (by path): 645 m
Map: Tabacco 03 1:25.000
Access to starting point:
First, we drive to Cortina d'Ampezzo (you can get here via the border crossing Rateče or Predel to Trbiž / Tarvisio and then on the highway in the direction of Udine to the exit Tolmezzo. From Tolmezzo we follow the road in the direction of the village Ampezzo and mountain pass Passo della Mauria. The road then descends and brings us to a crossroads, where we continue left (possible also right) in the direction of Cortina d'Ampezzo. At all next crossroads, we follow the signs for Cortina d'Ampezzo.
Or from the Primorska side, where we drive on the highway in the direction of Trst / Trieste. Further, we drive on the Italian highway in the direction of Padova, but only to the highway junction, where we continue in the direction of Veneto and Belluno. Near Belluno the highway ends, and at the next crossroads we continue in the direction of Cortina d'Ampezzo and then follow the signs for the alpine pass Passo di Falzarego. We then follow this ascending road to the large parking lot on the mentioned pass.
Path description:
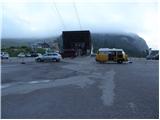
Just a few dozen meters away from the parking lot at the lower station of the cable car on Lagazuoi Piccolo we will notice signs for the Lagazuoi gallery. The path first leads along a rough gravel road closed to traffic (road for ski slope purposes), which after a short ascent brings us to the place where the signs for the gallery direct us slightly left. We continue the ascent on a wide mountain path that ascends parallel to the road we just left. The moderately steep path then brings us from the dwarf pine belt to the scree slopes, from which beautiful views open up mainly towards the south. The well-maintained path brings us after less than an hour of walking to a junction, where we continue left towards the Lagazuoi gallery (right is the normal mountain path).
The path ahead immediately steeply ascends along a well-secured ledge behind which we come to the first tunnel. Here we also notice a warning sign that for further walking we will need good footwear, a lamp and a helmet (when walking through the tunnels watch out for the occasionally low ceiling). After passing the first relatively short tunnel, the path descends with the help of fixed safety gear, crosses the gully and then along a slightly exposed and panoramic ledge brings us to the entrance to the more extensive gallery of underground tunnels. Here the entrance sign directs us right into the tunnel, which ascends with the help of stairs and steel cable along the edge of the south wall. During the ascent through the tunnel we notice some windows through which wonderful views open up. The quite damp path then brings us to a junction at 2551 m (further I will describe the left path).
At the junction of two tunnels we head into the left one, where we continue the ascent in complete darkness (there are no windows here that would occasionally provide some light). The quite long, steep and damp tunnel brings us higher to the next junction (here on the wall we notice the legend of the tunnels). We continue left again, where with the help of short very steep wooden stairs we climb to the so-called room 3. Here there is also an emergency call that we use in case of problems (use of mobile phones in the tunnels is not possible as there is no signal). After a further short ascent, a tunnel labeled izhod (exit) branches off to the left, but we continue straight to the nicely "preserved" next room (again possibility of emergency call). Just a little further the path brings us out of the tunnel onto a panoramic ledge from which a wonderful view opens up. The path then steeply ascends along an exposed ledge with the help of fixed safety gear behind which we come to the next room at 2629 m. The path enters the tunnel again and quickly brings us to the next junction. The correct path leads right (left over a steep ladder leads to a viewpoint, dead-end path), which after a few more steps brings us to a greater number of tunnels (nearby is an exhibited wheelbarrow that does not date from World War I). We continue on the left one (not the one that ends after a few meters), which after a further short ascent brings us to the place where the tunnel from the Spirale gallery joins (we ascended via the gallery to Cresta). The path then finally brings us out of the tunnels onto a panoramic, slightly exposed but well-secured ridge (here a large part of the mountain collapsed during the mining on 20 June 1917, 40 people died). The path ahead leads between the defensive embankment and behind it brings us to a wide ledge below the summit part of the mountain. Behind the ledge the path steeply ascends and brings us to the upper cable car station. We continue left and after a further few dozen steps we reach the mountain hut rifugio Lagazuoi.
Pictures:
 1
1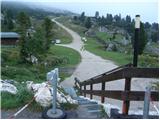 2
2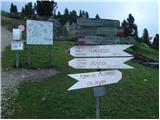 3
3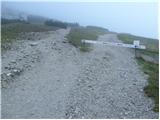 4
4 5
5 6
6 7
7 8
8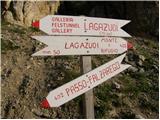 9
9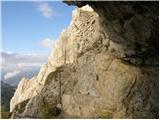 10
10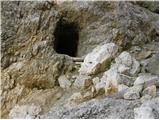 11
11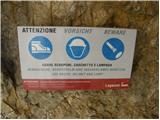 12
12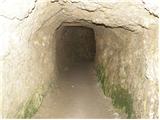 13
13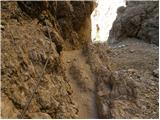 14
14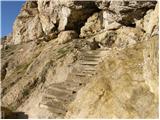 15
15 16
16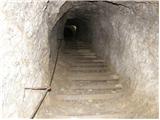 17
17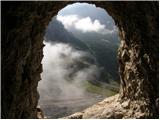 18
18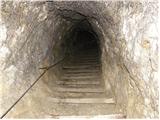 19
19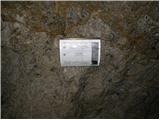 20
20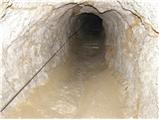 21
21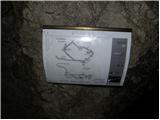 22
22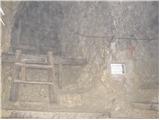 23
23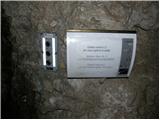 24
24 25
25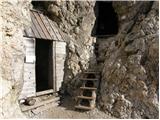 26
26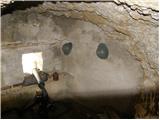 27
27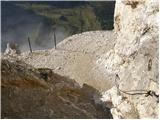 28
28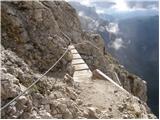 29
29 30
30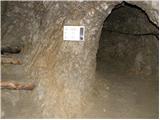 31
31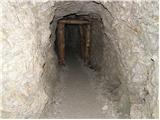 32
32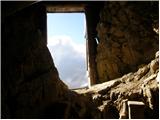 33
33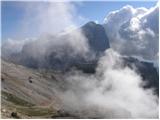 34
34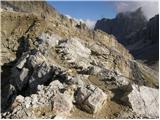 35
35 36
36 37
37 38
38 39
39 40
40 41
41